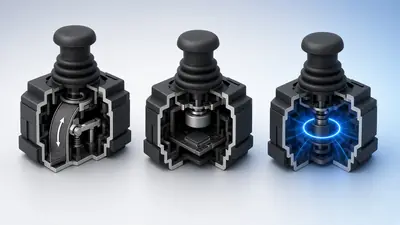
Copying a pro player's deadzone rarely works, because every controller has different rest noise.
The best deadzone is the smallest one that stops your sticks drifting. Here is how to find it.
Step 1: Measure Your Sticks
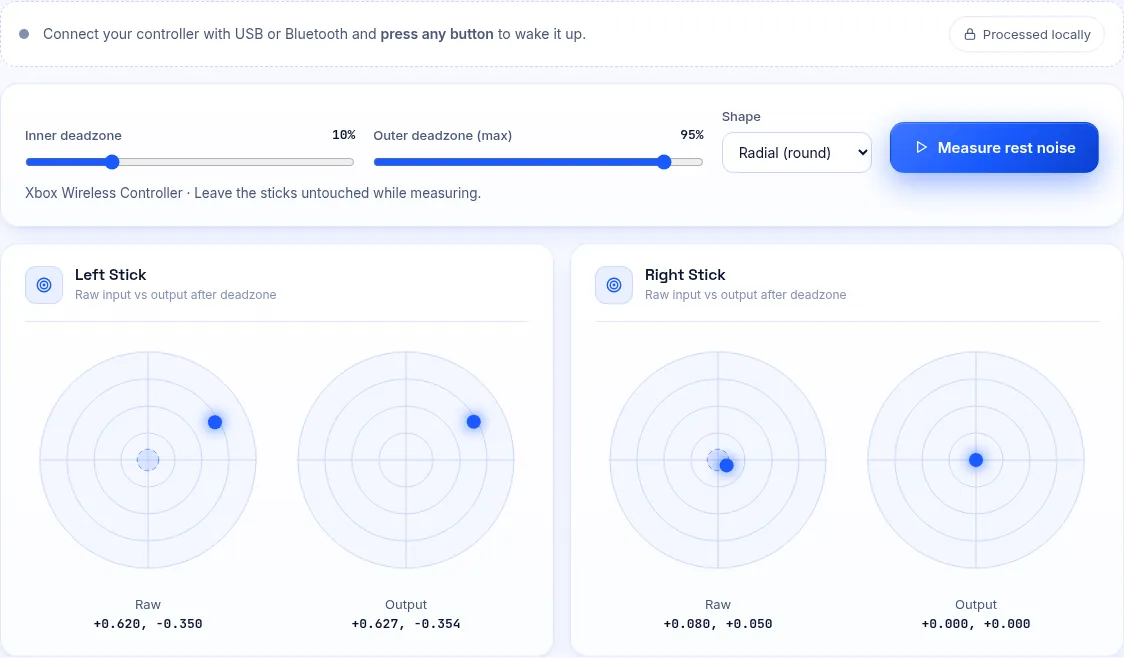
Open our deadzone test, put the controller down and click Measure rest noise. It suggests a safe inner deadzone for each stick.
Step 2: Set It in Fortnite
Open the settings, go to the controller section and find the left and right stick deadzone options.
Set each to your measured value, rounded up slightly. Test in Creative mode with slow aim movements.
Step 3: Set It in Rocket League
Open Settings, then Controls. Set the controller deadzone to your measured value.
Rocket League also has a separate dodge deadzone. Raise it if you flip in the wrong direction by accident.
Step 4: Fine-Tune
If the camera or car moves on its own, raise the deadzone by one step. If small movements feel unresponsive, lower it.
Retest your sticks every few months, because wear changes the right value.
Frequently Asked Questions
Why do pros use such low deadzones?
They often use new or Hall-effect controllers with very little rest noise.
Should left and right sticks match?
Not necessarily. Measure each stick and set them separately if your game allows it.