Joy-Con drift is one of the most common controller faults. The small sticks wear quickly and attract dust.
These steps go from free fixes to repairs, so start at the top.
What you need
- Your Joy-Con and Switch
- Optional: a PC or phone for testing
- Contact cleaner and cotton swabs
1Confirm the drift
Pair the Joy-Con with a PC or phone and open our Joy-Con tester. Leave the stick untouched and watch the values.
Readings above 0.10 at rest confirm drift.
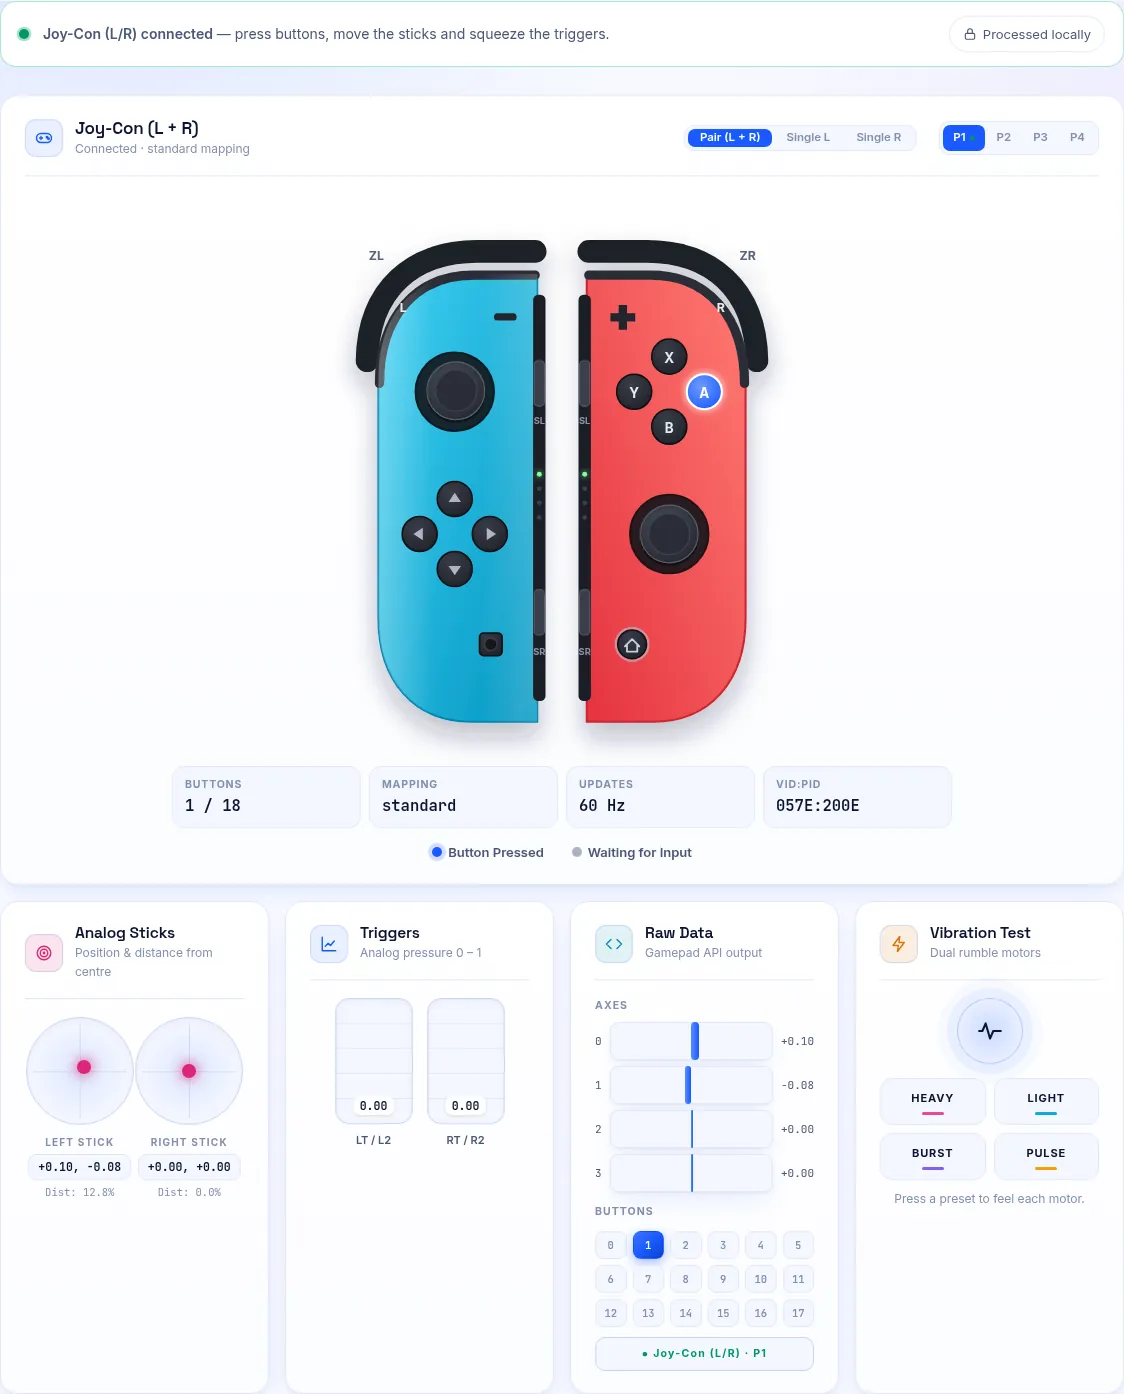
Our Joy-Con tester reading a connected Joy-Con. 2Update the controllers
On the Switch, open System Settings, Controllers and Sensors, Update Controllers.
Updates sometimes improve stick behaviour.
3Calibrate the sticks
In the same menu, choose Calibrate Control Sticks. Press the stick in, then follow the on-screen steps.
Calibration fixes an off-centre stick but not ongoing wear.
4Clean under the stick cover
Lift the rubber skirt around the stick base gently and apply a drop of contact cleaner.
Rotate the stick fully for a minute, wait for it to dry, then test again.
Apply cleaner at the base, not on the circuit board. 5Repair or replace
Nintendo has repaired Joy-Con drift free of charge in several regions. Check your local support site first.
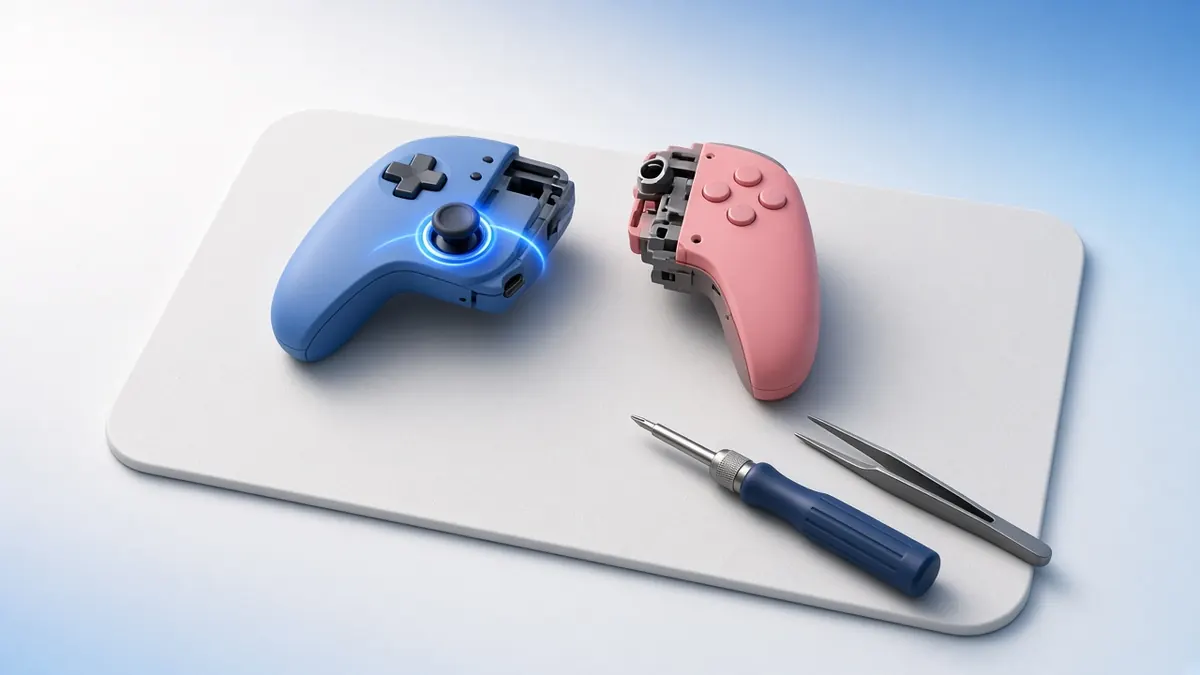
Otherwise, replacement stick modules are cheap, but opening a Joy-Con needs a tri-wing screwdriver and care with ribbon cables.
Preventing Joy-Con Drift
Store the Joy-Con attached to the console or in a case, away from dust. Avoid pressing the sticks hard against the edge.
Third-party Joy-Con-style pads with Hall-effect sticks avoid the problem altogether.
Frequently Asked Questions
Can I use a deadzone to hide Joy-Con drift?
Only in games that offer a deadzone setting. The Switch has no system-wide deadzone.
Is Joy-Con drift covered by warranty?
Usually yes within the warranty period, and in several regions Nintendo repairs it outside warranty too.